记录服务器重置部署经历
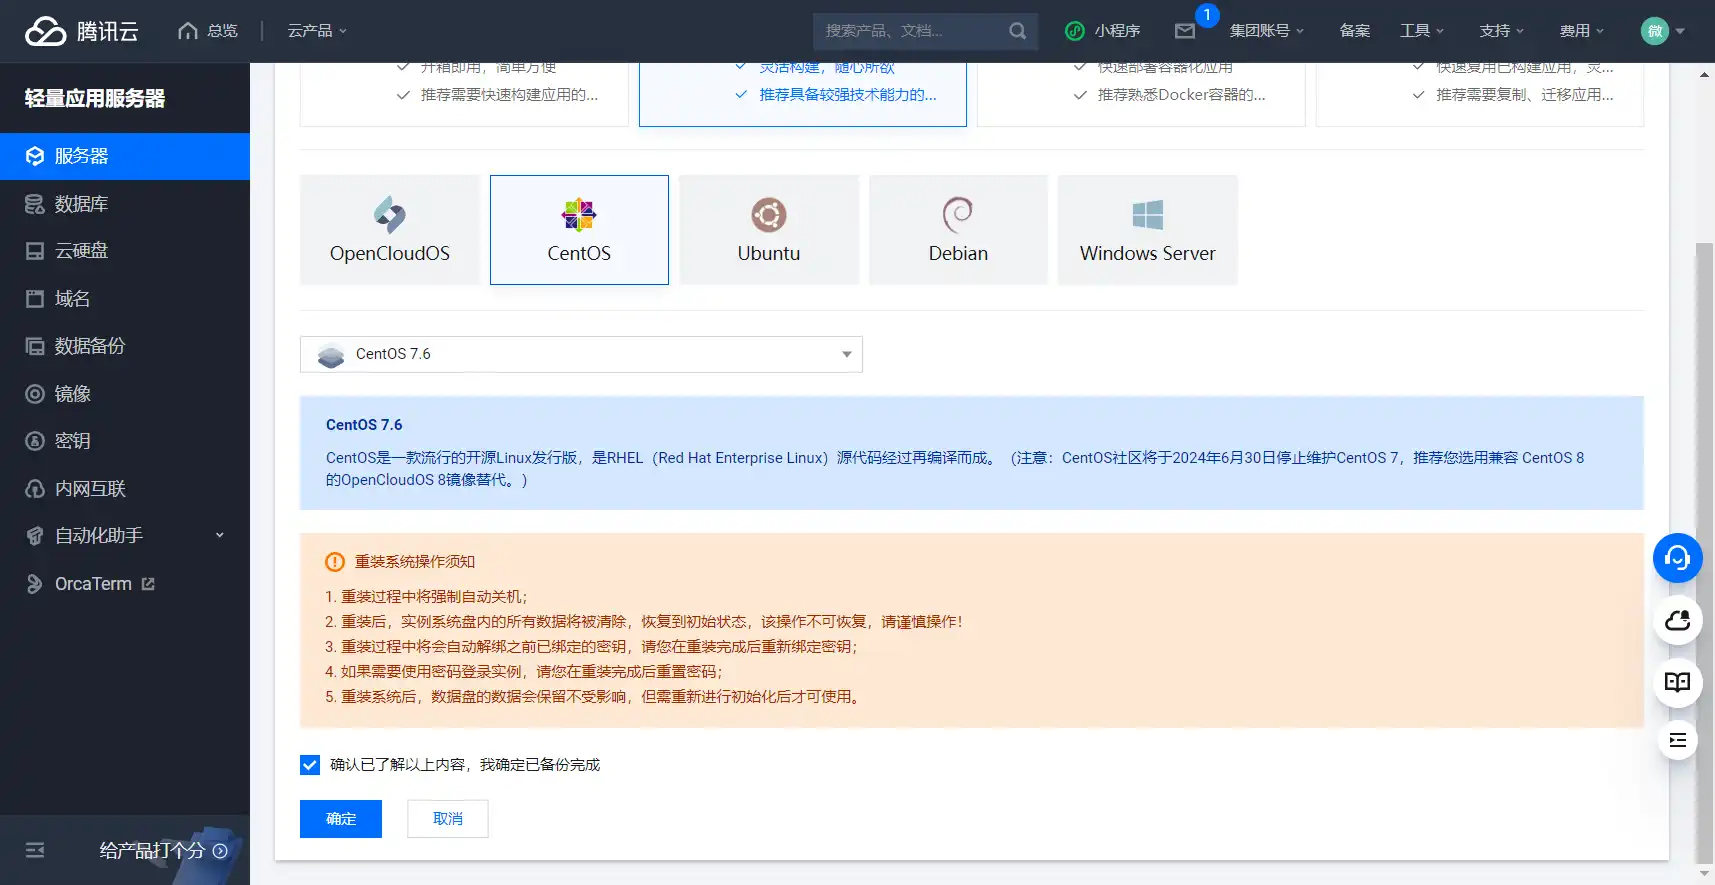
由于某些特殊原因,在某个风和日丽的上午,我对我的服务器进行了重置,并由此记录下我的服务器部署项目历程(在重置前备份数据永远不会错)。
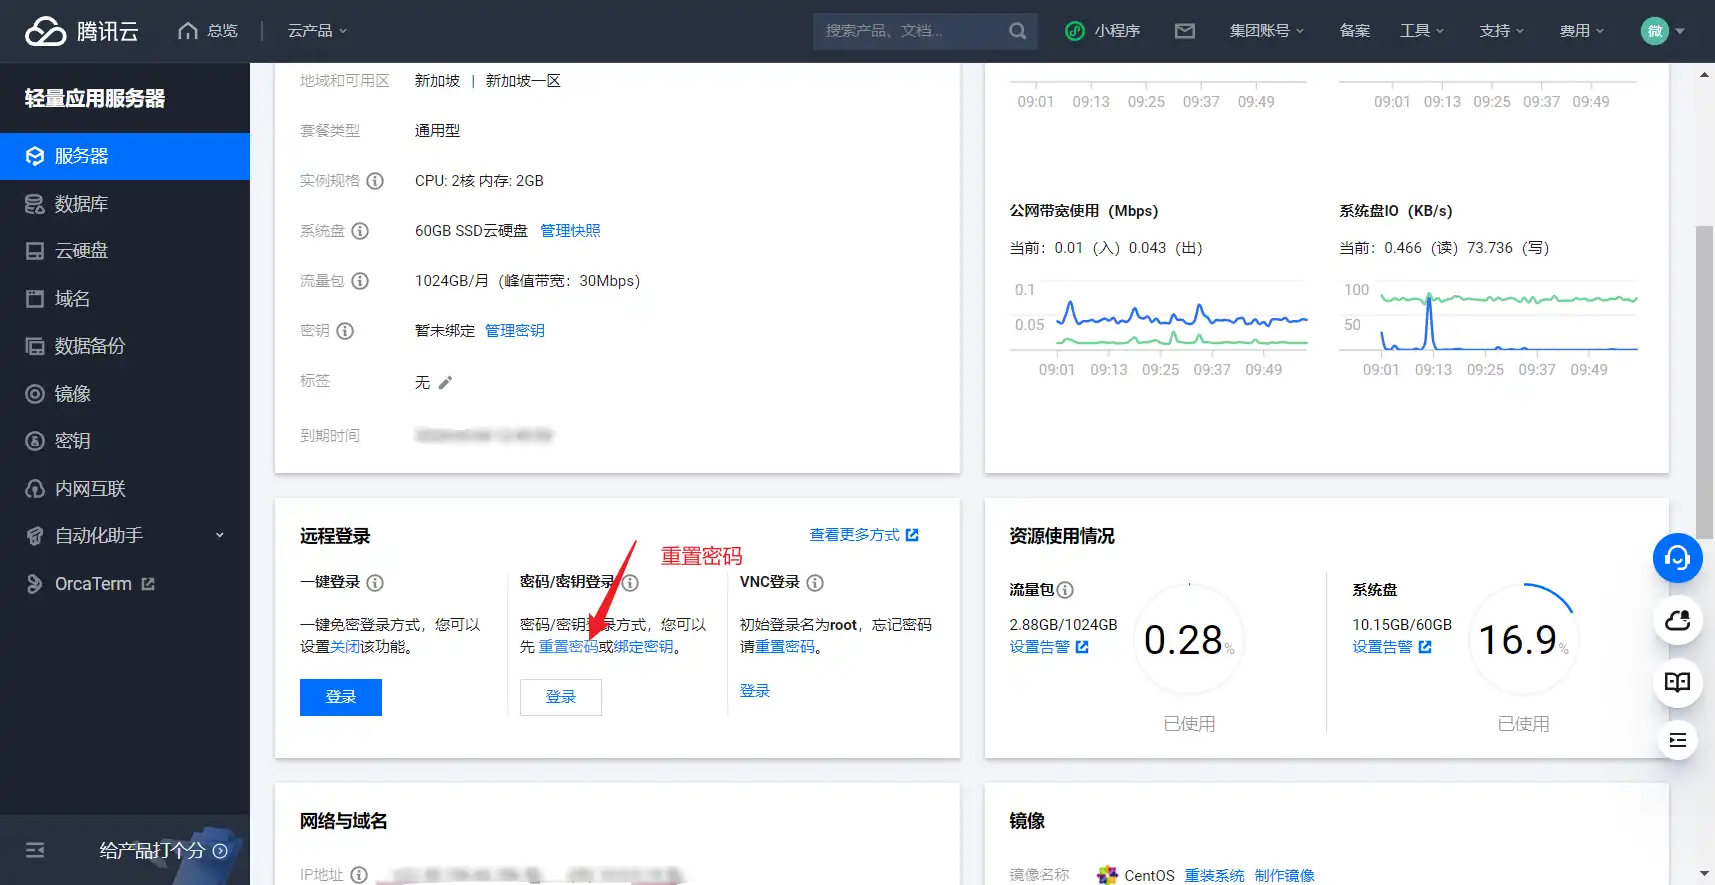
重置
安装宝塔
官网安装脚本链接 https://www.bt.cn/new/download.html
- Centos安装脚本:
yum install -y wget && wget -O install.sh https://download.bt.cn/install/install_6.0.sh && sh install.sh ed8484bec - Ubuntu/Deepin安装脚本:
wget -O install.sh https://download.bt.cn/install/install-ubuntu_6.0.sh && sudo bash install.sh ed8484bec - Debian安装脚本:
wget -O install.sh https://download.bt.cn/install/install-ubuntu_6.0.sh && bash install.sh ed8484bec - 万能安装脚本:
if [ -f /usr/bin/curl ];then curl -sSO https://download.bt.cn/install/install_panel.sh;else wget -O install_panel.sh https://download.bt.cn/install/install_panel.sh;fi;bash install_panel.sh ed8484bec
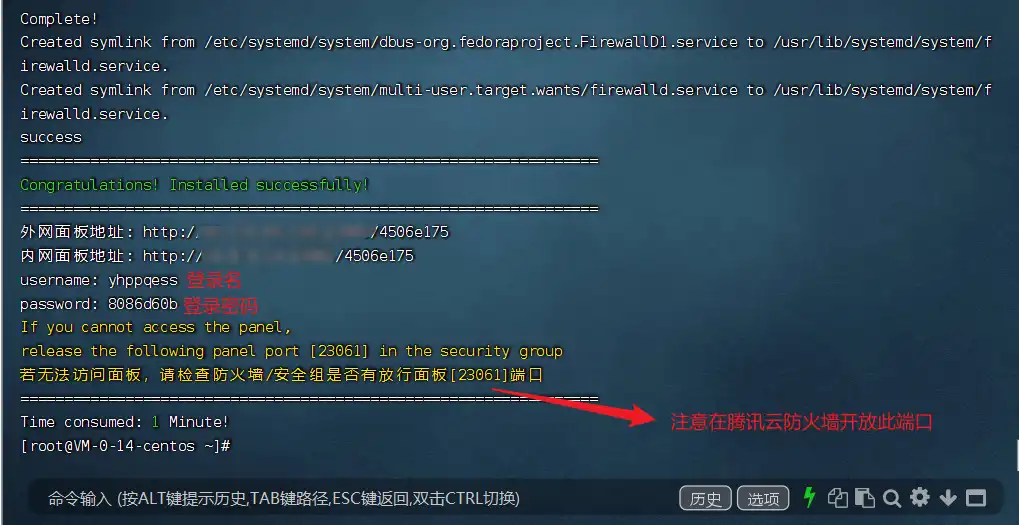
安装完成,分别显示对于登录网址以及用户名,按照网址在浏览器登录(推荐使用chorm)。
==记得开放防火墙端口及关闭代理==
安装完成后可在宝塔面板里更改登录名登录密码以及安装网站搭建环境。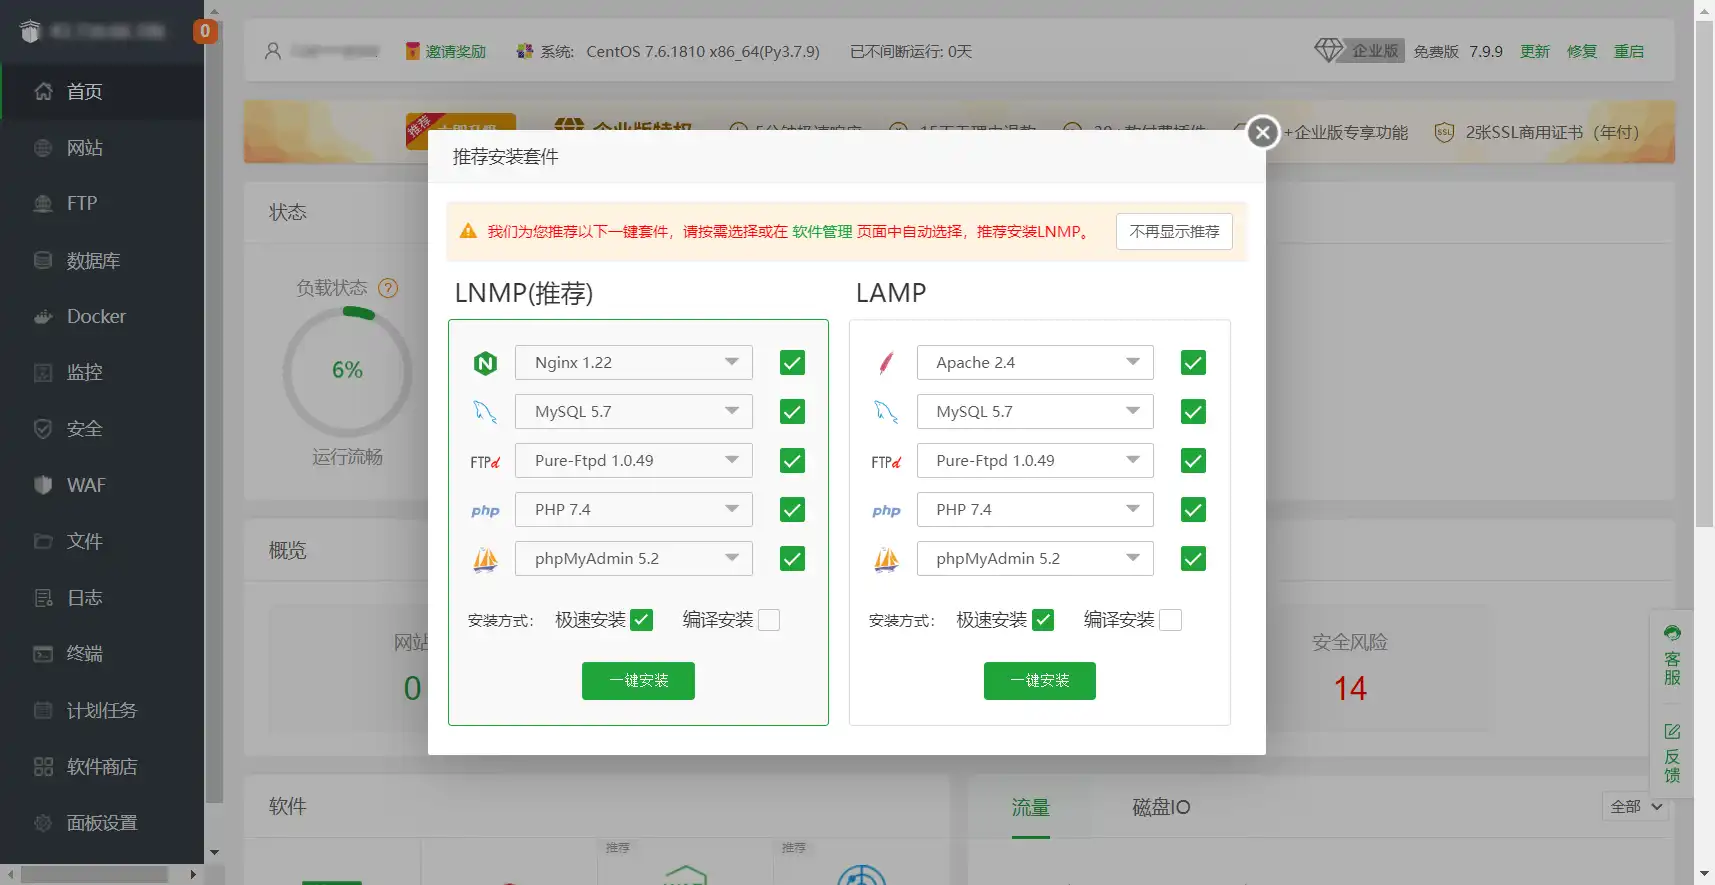
安装Alist
alist官方文档:https://alist.nn.ci/zh/
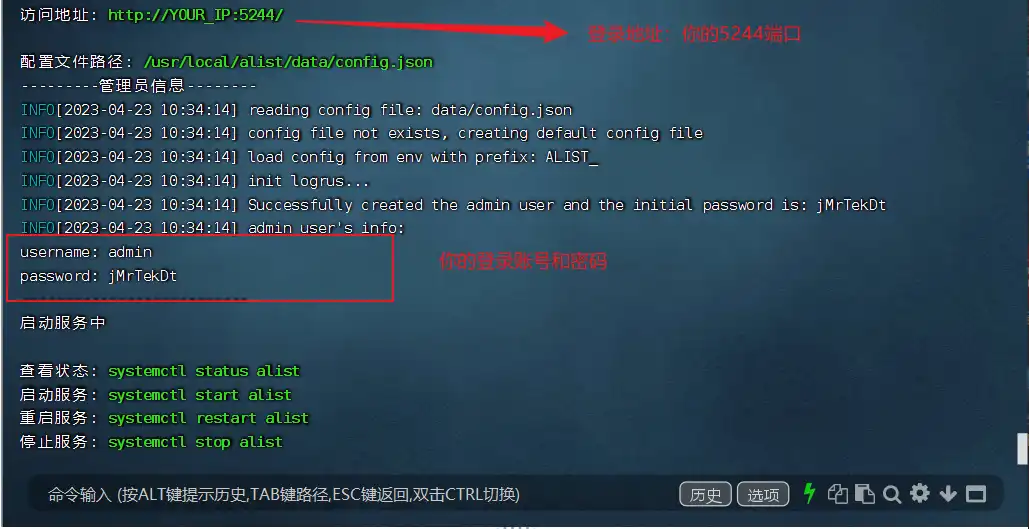
简单列举alist脚本(默认路径为/opt/alist):
- 安装:
curl -fsSL "https://alist.nn.ci/v3.sh" | bash -s install - 更新:
curl -fsSL "https://alist.nn.ci/v3.sh" | bash -s update - 卸载:
curl -fsSL "https://alist.nn.ci/v3.sh" | bash -s uninstall 自定义安装路径脚本:
curl -fsSL "https://alist.nn.ci/v3.sh" | bash -s install /usr/localcurl -fsSL "https://alist.nn.ci/v3.sh" | bash -s update /usr/localcurl -fsSL "https://alist.nn.ci/v3.sh" | bash -s uninstall /usr/local
使用systemd管理alist运行:
- 启动:
systemctl start alist - 关闭:
systemctl stop alist - 状态:
systemctl status alist - 重启:
systemctl restart alist
登录后可以用alist对网盘进行管理,记得更改默认账号密码
搭建Frp服务端
下载frp
frp是一个内网穿透项目,由一个具有公网IP的服务端与内网客户端组成,由监听端口与客户端链接,并对端口转发至服务端,达到内网穿透效果。
frp官网文档:https://gofrp.org/
下载FRP包到安装目录(ssh上传或者使用wget命令)
==记得使用chmod对文件赋权==
- 运行
./frps -c ./frps.ini启动服务端(编写目录下的frps.ini文件对参数进行设置)
[common]
#frp监听端口,默认7000
bind_port = 7000
#授权码
token = token

#frp管理后台端口,按需修改
dashboard_port = 7500
#frp管理后台用户名密码
dashboard_user = user
dashboard_pwd = password

#frp日志配置
log_file = /var/log/frps.log
log_level = info
log_max_days = 3
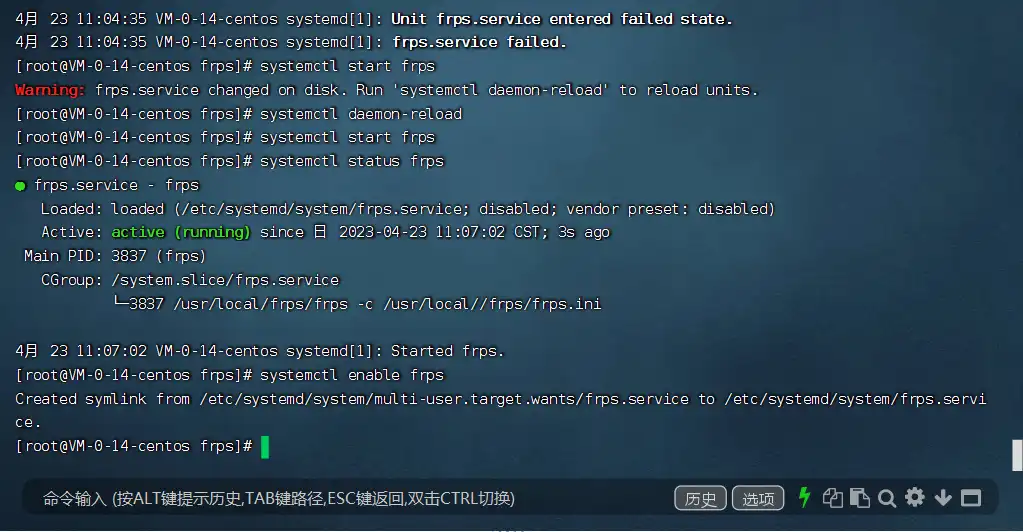
使用systemd对frp进行开机自启操作
如Linux服务端上没有安装
systemd,可以使用yum或apt等命令安装systemd。# yum yum install systemd # apt apt install systemd使用文本编辑器,如
vim创建并编辑frps.service文件。i为插入;esc+:wq为保存退出vim /etc/systemd/system/frps.service
写入内容:[Unit] # 服务名称,可自定义 Description = frp server After = network.target syslog.target Wants = network.target [Service] Type = simple # 启动frps的命令,需修改为您的frps的安装路径 ExecStart = /path/to/frps -c /path/to/frps.ini [Install] WantedBy = multi-user.target使用
systemd命令,管理 frps。# 启动frp systemctl start frps # 停止frp systemctl stop frps # 重启frp systemctl restart frps # 查看frp状态 systemctl status frps配置 frps 开机自启。
systemctl enable frps
运行成功,在客户端配置frpc后即可
反向代理配置
参考alist全局反向代理配置:https://alist.nn.ci/zh/guide/install/reverse-proxy.html
nginx
在网站配置文件的 server 字段中添加
location / {
  proxy_set_header X-Forwarded-For $proxy_add_x_forwarded_for;
  proxy_set_header X-Forwarded-Proto $scheme;
  proxy_set_header Host $http_host;
  proxy_set_header X-Real-IP $remote_addr;
  proxy_set_header Range $http_range;
    proxy_set_header If-Range $http_if_range;
  proxy_redirect off;
  proxy_pass http://127.0.0.1:5244;
  # the max size of file to upload
  client_max_body_size 20000m;
}
注意
如果使用宝塔面板,请务必删除以下默认配置
- location ~ ^/(\.user.ini|\.htaccess|\.git|\.svn|\.project|LICENSE|README.md
- location ~ .\*\.(gif|jpg|jpeg|png|bmp|swf)$
- location ~ .\*\.(js|css)?$
Apache
在 VirtualHost 字段下添加配置项 ProxyPass,如:
<VirtualHost *:80>
    ServerName myapp.example.com
    ServerAdmin webmaster@example.com
    DocumentRoot /www/myapp/public

    AllowEncodedSlashes NoDecode
    ProxyPass "/" "http://127.0.0.1:5244/" nocanon
</VirtualHost>
Caddy
在 Caddyfile 文件下添加 reverse_proxy,如:
:80 {
  reverse_proxy 127.0.0.1:5244
}
如果部署在 443 端口正常使用的服务器上且使用域名进行访问,建议使用这种配置让 Caddy 自动申请证书:
example.com {
  reverse_proxy 127.0.0.1:5244
}

将 `example.com` 替换为你自己解析后的域名。
宝塔设置反向代理简单示范
首先新建一个站点,Alist启动程序 在不在这个站点文件夹内都无所谓,然后照着下图添加即可。
- 还有就是如果你要用宝塔开启 SSL(HTTPS), 你需要在反向代理之前添加不然无法开启SSL
- 如果你已经添加了反向代理,可以先停止 (图片里面哪个开启代理按钮关了它就行) ,开启了SSL再把反向代理打开即可
![BT BT]()
部署typecho
- 下载typecho;
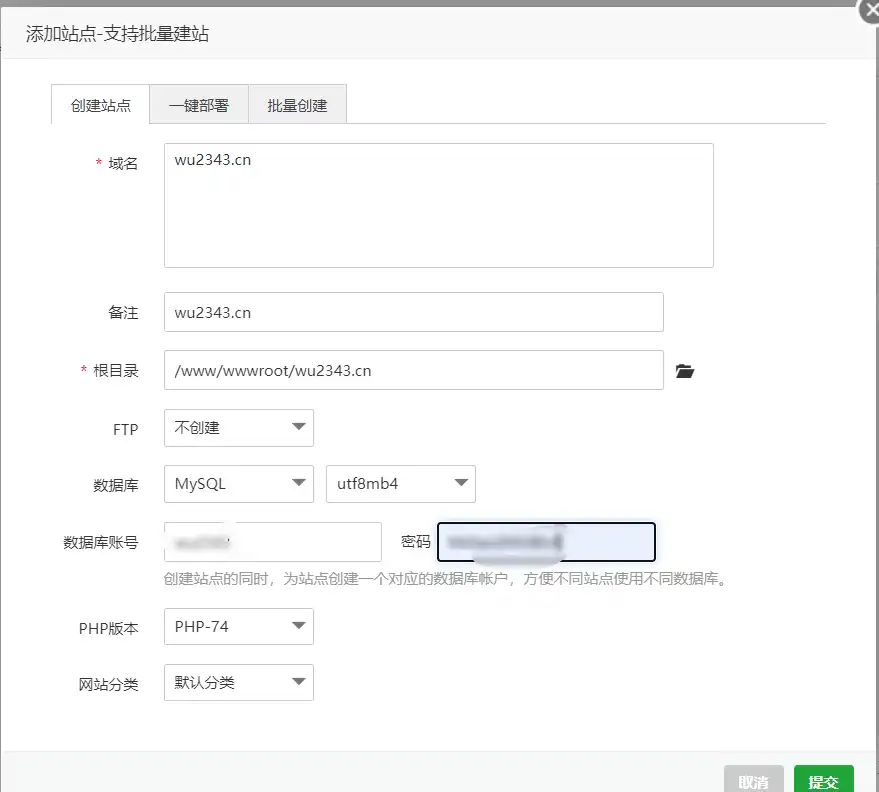
- 在宝塔创建站点和数据库;
![image-20230423112955249 image-20230423112955249]()
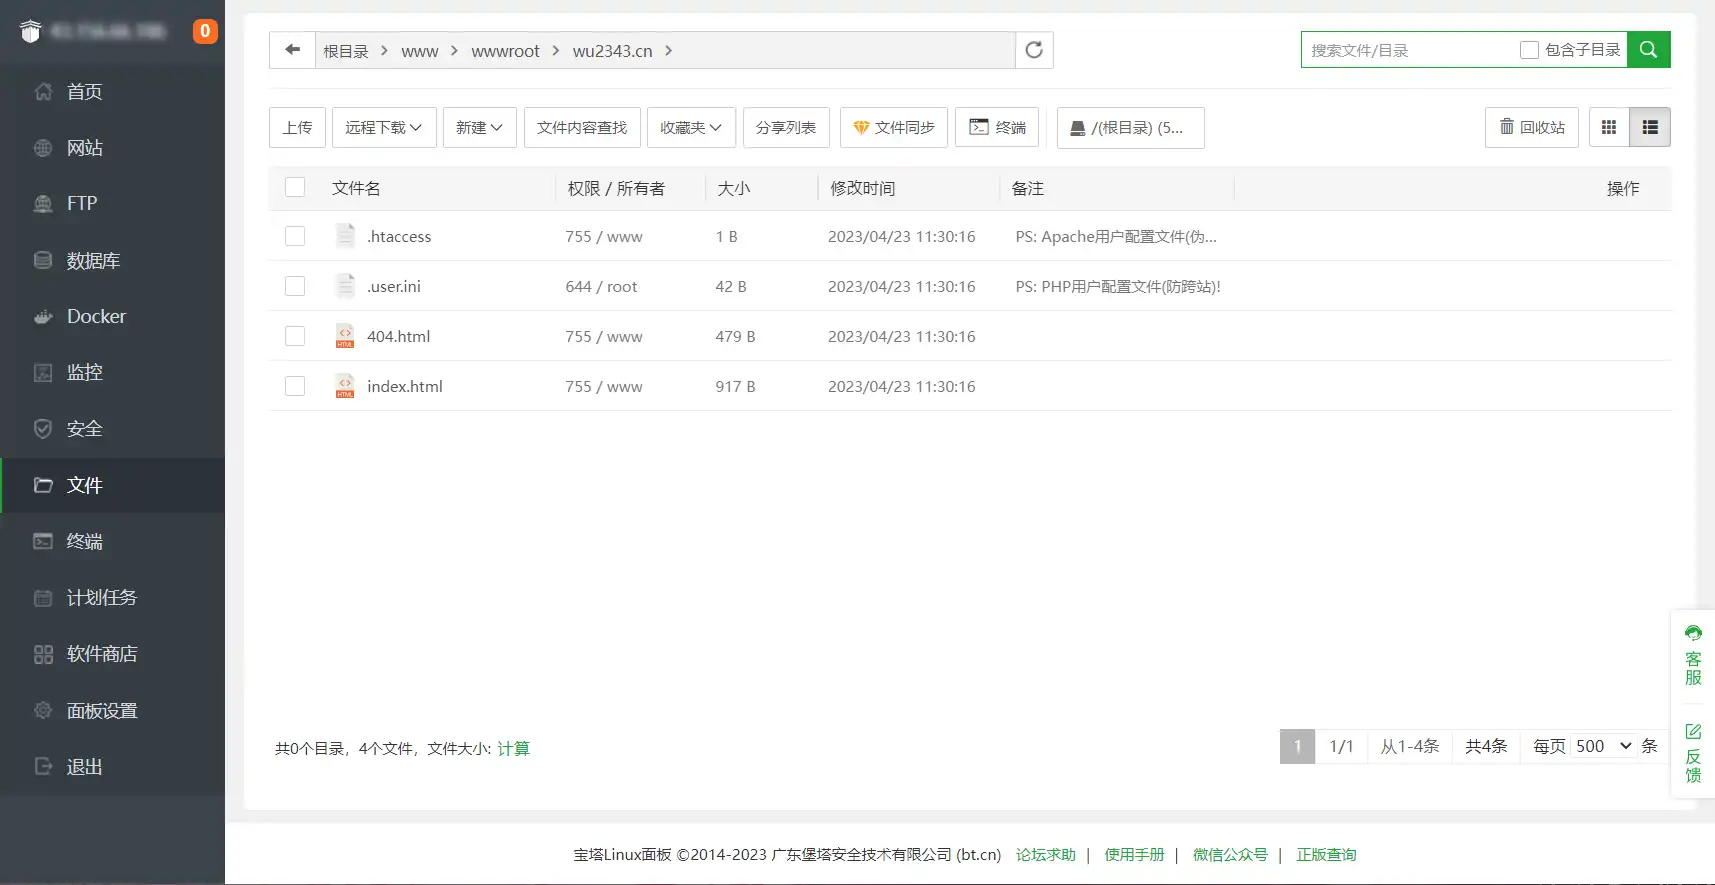
- 在网站目录上传下载的typecho包并解压,可以删除原有的404.html和index.html
![image-20230423113146939 image-20230423113146939]()
- 访问网址并进行设置安装引导设置。进入后台管理界面
![image-20230423113431787 image-20230423113431787]()
enjoy!


